
A Step-By-Step Guide to How Roofing and Siding Projects Work From Start to Finish
A roofing or siding project is one of the most impactful upgrades you can make to your home. Whether you’re replacing old shingles, installing durable metal roofing, or updating your exterior with premium James Hardie siding, knowing what to expect helps the entire process feel smooth and stress-free. This homeowner’s timeline walks you through every stage—from the first consultation to the final cleanup—so you feel confident from start to finish.
1. Initial Consultation & Inspection
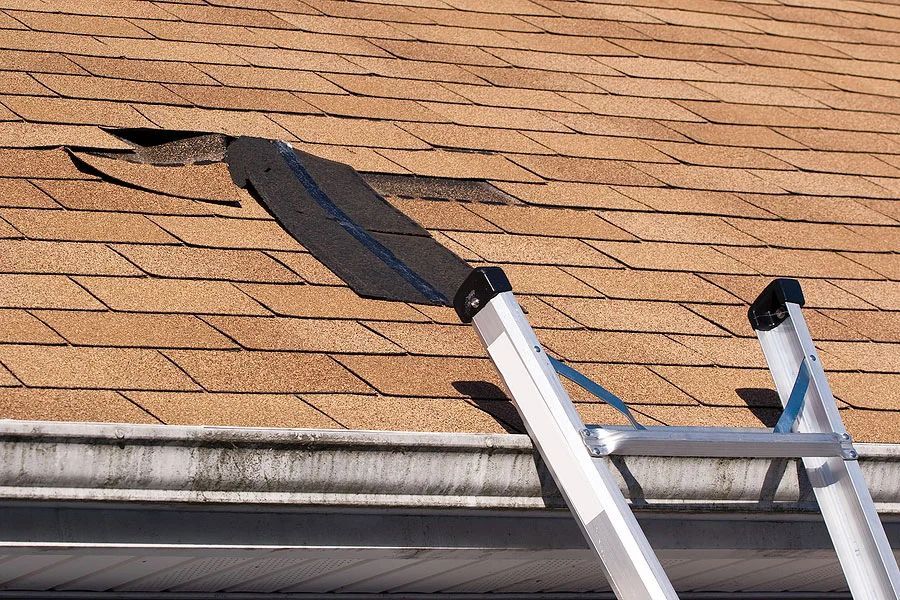
The process begins with a thorough evaluation of your home’s exterior. Your contractor examines your roof or siding, identifies damage, reviews material options, and discusses your long-term goals.
What happens during this stage:
- A full exterior inspection (roof, siding, gutters, trim, windows as needed)
- Photos and measurements
- Discussion of material options (asphalt shingles, metal roofing, synthetic roofs, James Hardie siding)
- Timeline and budget expectations
This is the foundation for a successful project—your contractor learns your home’s needs, and you gain clarity on what the project will involve.
2. Detailed Estimate & Material Selection
Once the inspection is complete, you’ll receive a written estimate outlining the scope of work, material costs, warranty details, and timelines.
Materials are selected based on durability, energy efficiency, and your home’s architectural style. Most homeowners in Northeast Ohio choose products that perform well through snow, hail, wind, and wide temperature swings.
You’ll choose from options like:
- Owens Corning asphalt shingles
- Metal roofing panels
- Brava synthetic shake, slate, or Spanish tile
- James Hardie fiber cement siding
- Vinyl siding (for certain projects)
This step ensures your project meets both your aesthetic vision and performance expectations.
3. Scheduling & Pre-Project Preparation
After materials are ordered, your project is scheduled. Weather plays a major role—especially in Northeast Ohio—so dates are sometimes flexible.
Homeowner preparations may include:
- Clearing patio furniture, grills, or décor
- Moving vehicles away from the driveway
- Removing wall décor inside (roofing vibration can shake items loose)
- Making sure pets will be safe indoors
Your project manager will confirm delivery details for materials, dumpsters, or scaffolding.
4. Material Delivery & Jobsite Setup
Typically, materials arrive 1–2 days before installation. Crews set up safety barriers and protect landscaping before any work begins.
Jobsite setup often includes:
- Roofing dumpster placed strategically for efficient cleanup
- Material staging area
- Protecting plants, decks, and windows
- Safety equipment installation
This creates an organized, efficient environment for the work ahead.
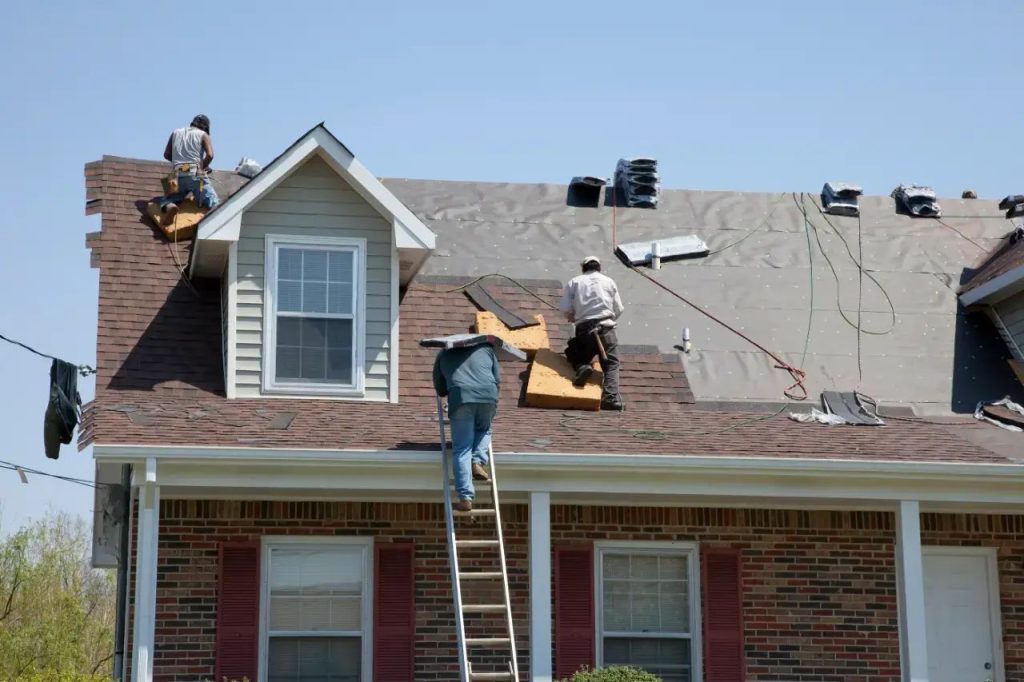
5. Tear-Off & Surface Preparation
With the home prepared, old materials are removed. Roofing tear-offs involve removing old shingles, underlayment, and flashing. For siding, crews remove worn or damaged sections and inspect the underlying structure.
Once the tear-off is complete, crews evaluate the deck (roof) or sheathing (siding) for rot or structural issues.
This stage may include:
- Fixing soft or damaged plywood
- Installing new flashing
- Applying new underlayment
- Prepping wall surfaces for new siding
It’s the most labor-intensive part of the project—but also the most important.
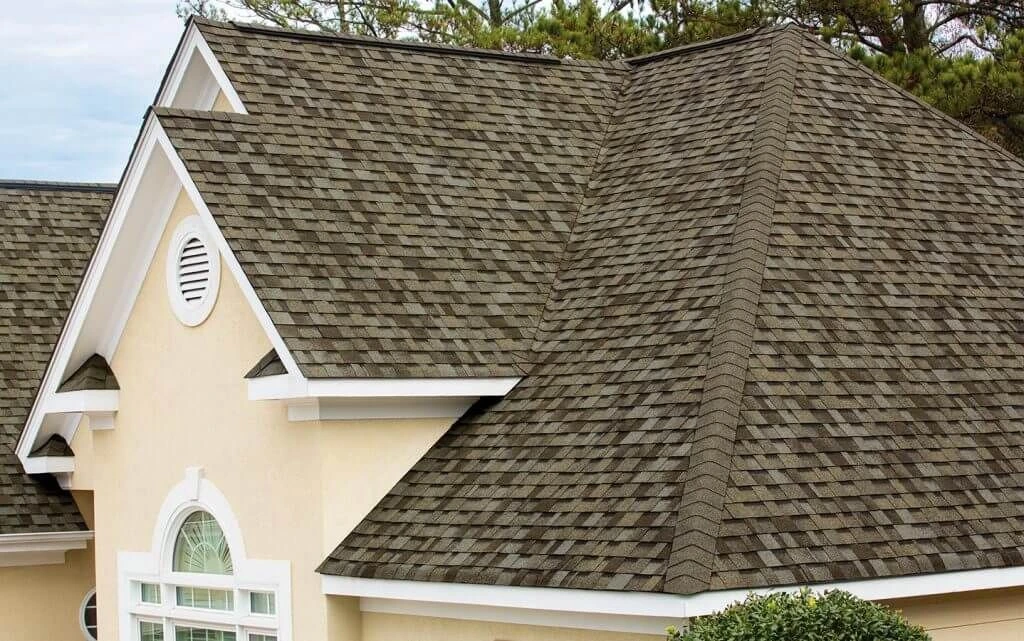
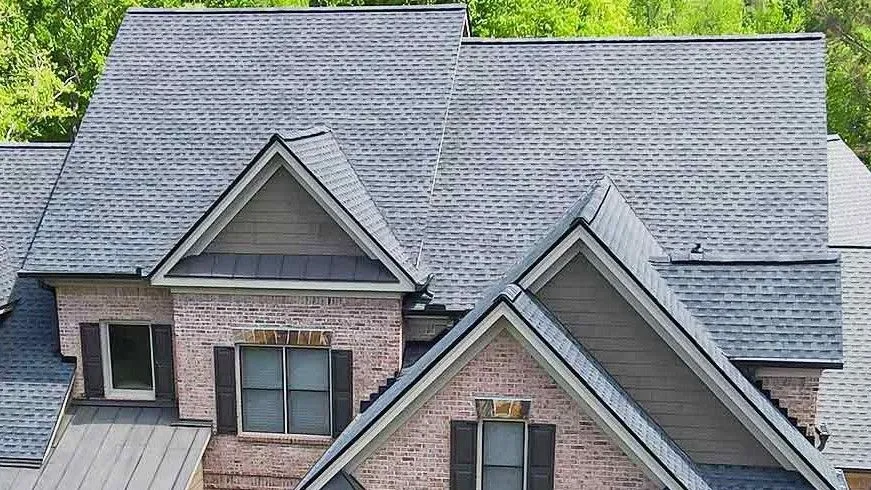
6. Installation of New Roofing or Siding
This is where your home’s transformation begins. High-quality installation ensures maximum curb appeal and long-term protection.
Roofing installation includes:
- Ice & water barrier
- Synthetic underlayment
- Starter shingles
- Shingle, metal, or synthetic tile installation
- Ridge vent and ridge caps
Siding installation includes:
- Weather barriers
- Flashing and moisture protection
- James Hardie or vinyl siding placement
- Trim and accent details
Homeowners often notice immediate improvements in appearance and insulation once installation starts.
7. Final Cleanup & Walkthrough
Once installation is complete, crews clean the jobsite thoroughly. A magnet sweep removes nails, siding scraps are collected, and landscaping is restored.
You’ll then complete a final walkthrough with your project manager.
The walkthrough covers:
- Workmanship inspection
- Proper ventilation and flashing
- Cleanup quality
- Warranty review
- Maintenance tips
This ensures everything meets your expectations before the project is officially closed.
8. Post-Project Support & Warranty Protection
A reputable contractor stands behind their work. You’ll receive documentation for product warranties (such as Owens Corning or James Hardie) and workmanship guarantees.
Your contractor may also follow up after a few months to ensure satisfaction and answer questions about maintenance or seasonal care.
Final Thoughts
Roofing and siding projects are major home investments—and understanding the process helps everything go smoothly. From initial inspection to final cleanup, knowing what to expect allows you to plan ahead, protect your property, and feel confident at each step.
If you ever have questions about roofing or siding projects, Hometown Roofing & Construction is here to help with expert guidance, durable materials, and craftsmanship you can count on.